You can use the Automatic Purchase Orders program in Micronet to create automatic transfers of stock between warehouses based on minimum and maximum stock levels. This topic provides an overview of the configuration and processing steps, with links to the appropriate topics for more detailed information.
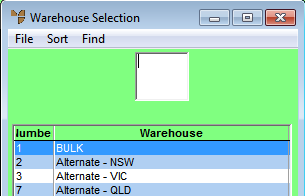
This example uses four warehouses - one pick (bulk) and three alternate warehouses.

To use the Automatic Purchase Orders program for stock transfers:
Before an item can be automatically transferred or purchased, you must enter a preferred supplier in the Supplier Preferred field.
Refer to "File - Inventory - Item".
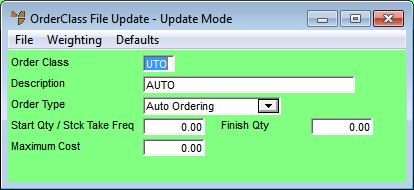
Order classes allow you to limit the items and warehouses that Micronet checks for automatic purchases and transfers. Set the Order Type to Auto Ordering.
Refer to "Inventory - Stock Control - Order Class Update".
Refer to "File - Inventory - Purchasing".
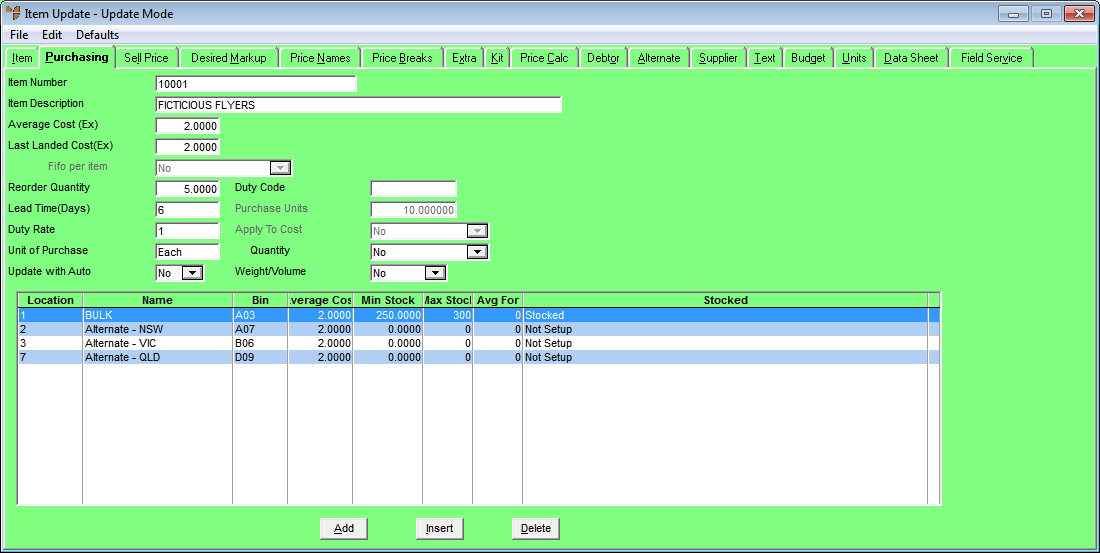
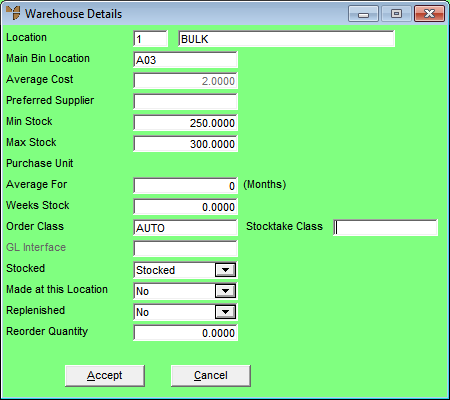
In our example, we don't want to transfer stock with warehouse 7-Alternate - QLD, so the order class is not set for that warehouse.
Refer to "File - Inventory - Purchasing".
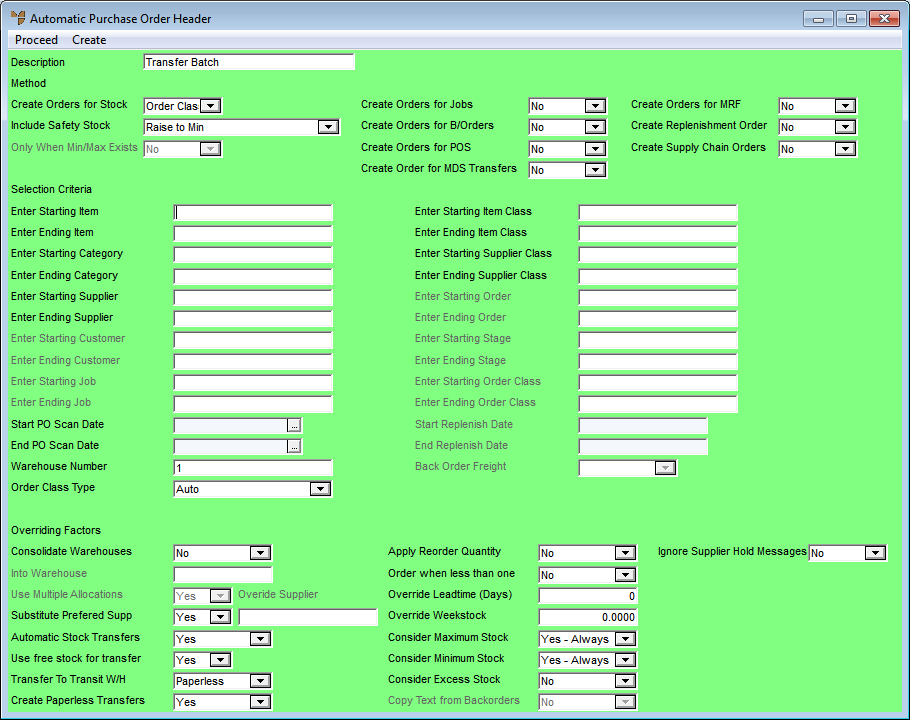
Refer to "Creating a New Automatic Purchase Order Batch".
|
|
Field |
Value |
|---|---|---|
|
|
Create Orders for Stock |
Set to Order Class Stock. Refer to "Automatic Purchase Order Header - Method Selection". |
|
|
Warehouse Number |
Set to the location of your bulk warehouse, in this case 1. Refer to "Automatic Purchase Order Header - Selection Criteria". |
|
|
Order Class Type |
Set to Auto. Refer to "Automatic Purchase Order Header - Selection Criteria". |
|
|
Automatic Stock Transfers |
Set to Yes. Refer to "Automatic Purchase Order Header - Overriding Factors". |
|
|
Transfer to Transit W/H |
Set to Paperless. Refer to "Automatic Purchase Order Header - Overriding Factors". |
|
|
Consider Maximum Stock |
Set to Yes - Always. Refer to "Automatic Purchase Order Header - Overriding Factors". |
|
|
Consider Minimum Stock |
Set to Yes - Always. Refer to "Automatic Purchase Order Header - Overriding Factors". |
Micronet builds the list of items to be transferred and then redisplays the Automatic Purchase Order screen showing those items.
Refer to "Generating the List of Items to Order".
Refer to "Maintaining Automatic Purchase Order Lines" and "Automatic Purchase Order - Edit Menu Options".
Because you set the Transfer to Transit W/H field to Paperless, Micronet posts the transfers to the paperless queue for download.
|
|
|
Technical Tip If you have printed a verification report and want to use it as a guide to create the transfers on a PDA, you can delete the batch rather than posting it. |